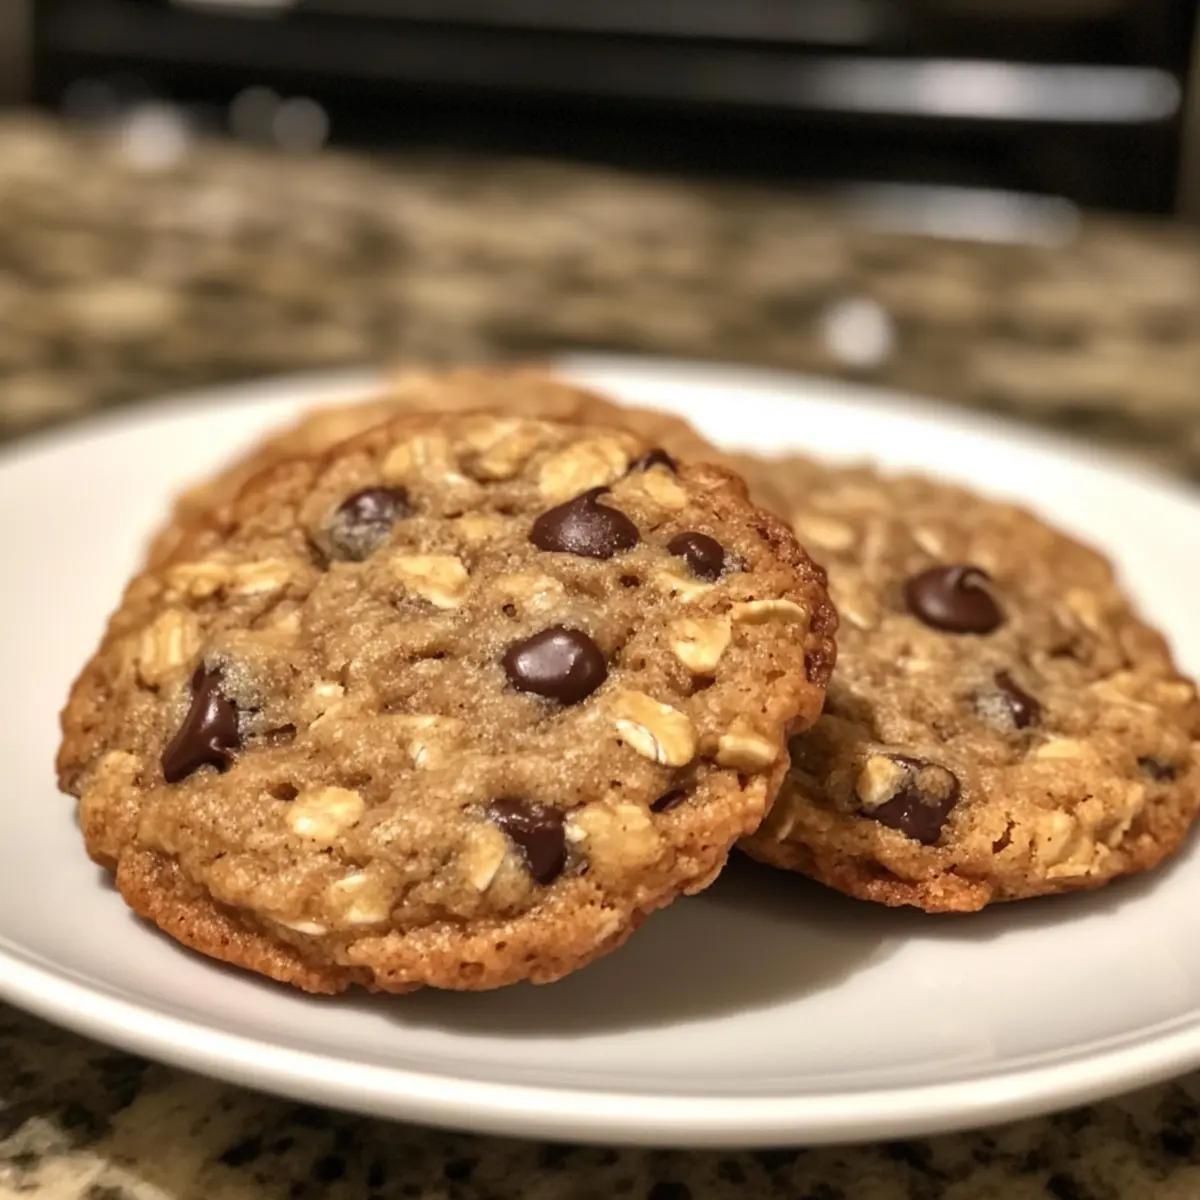
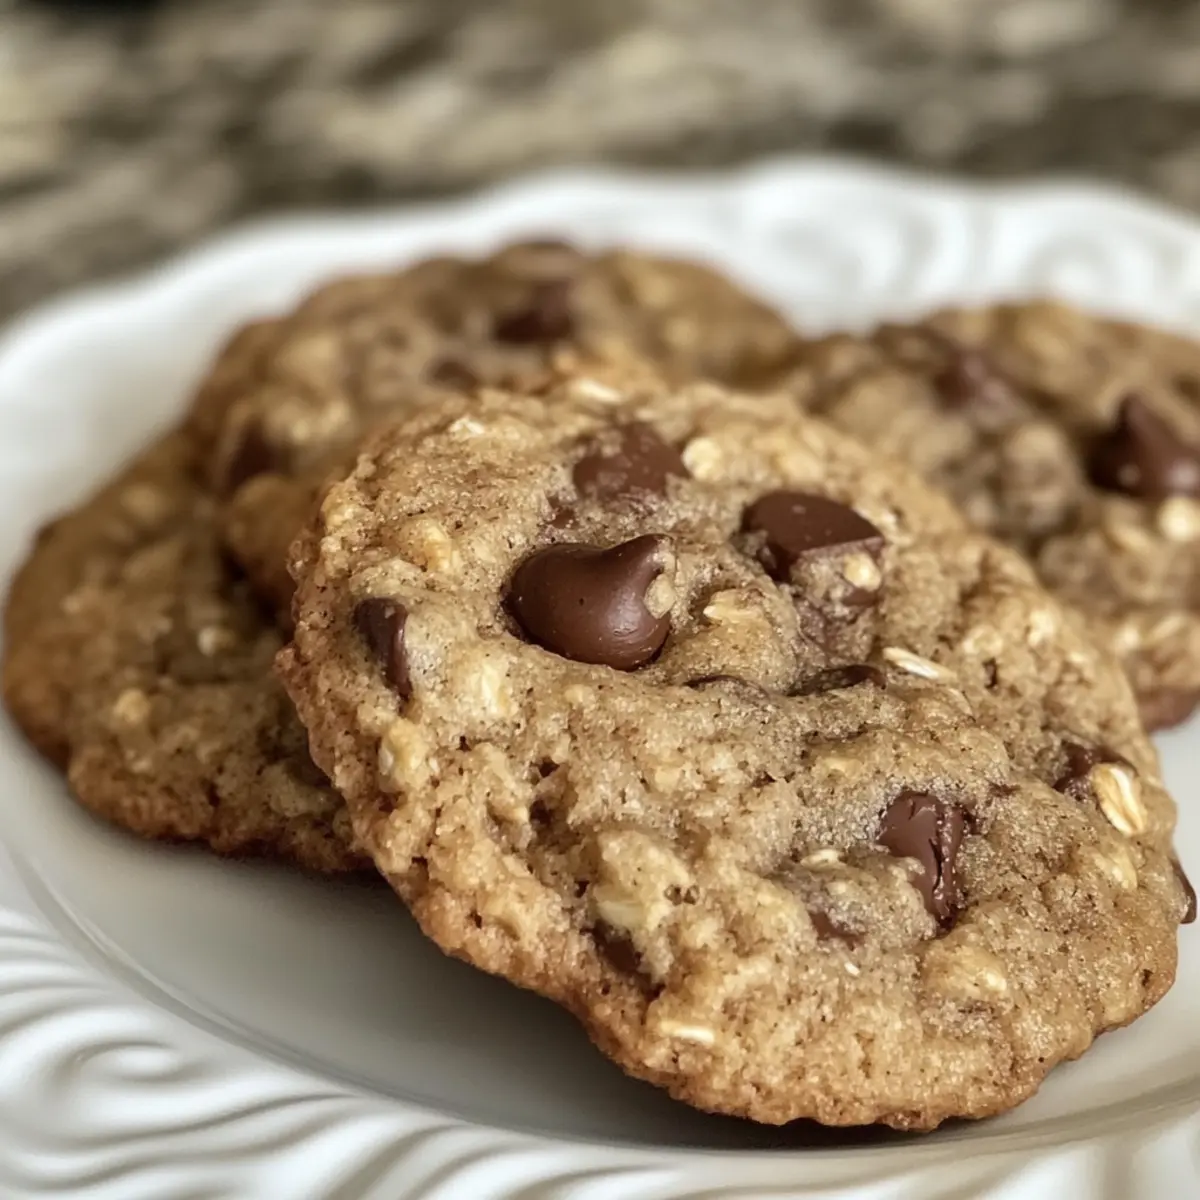
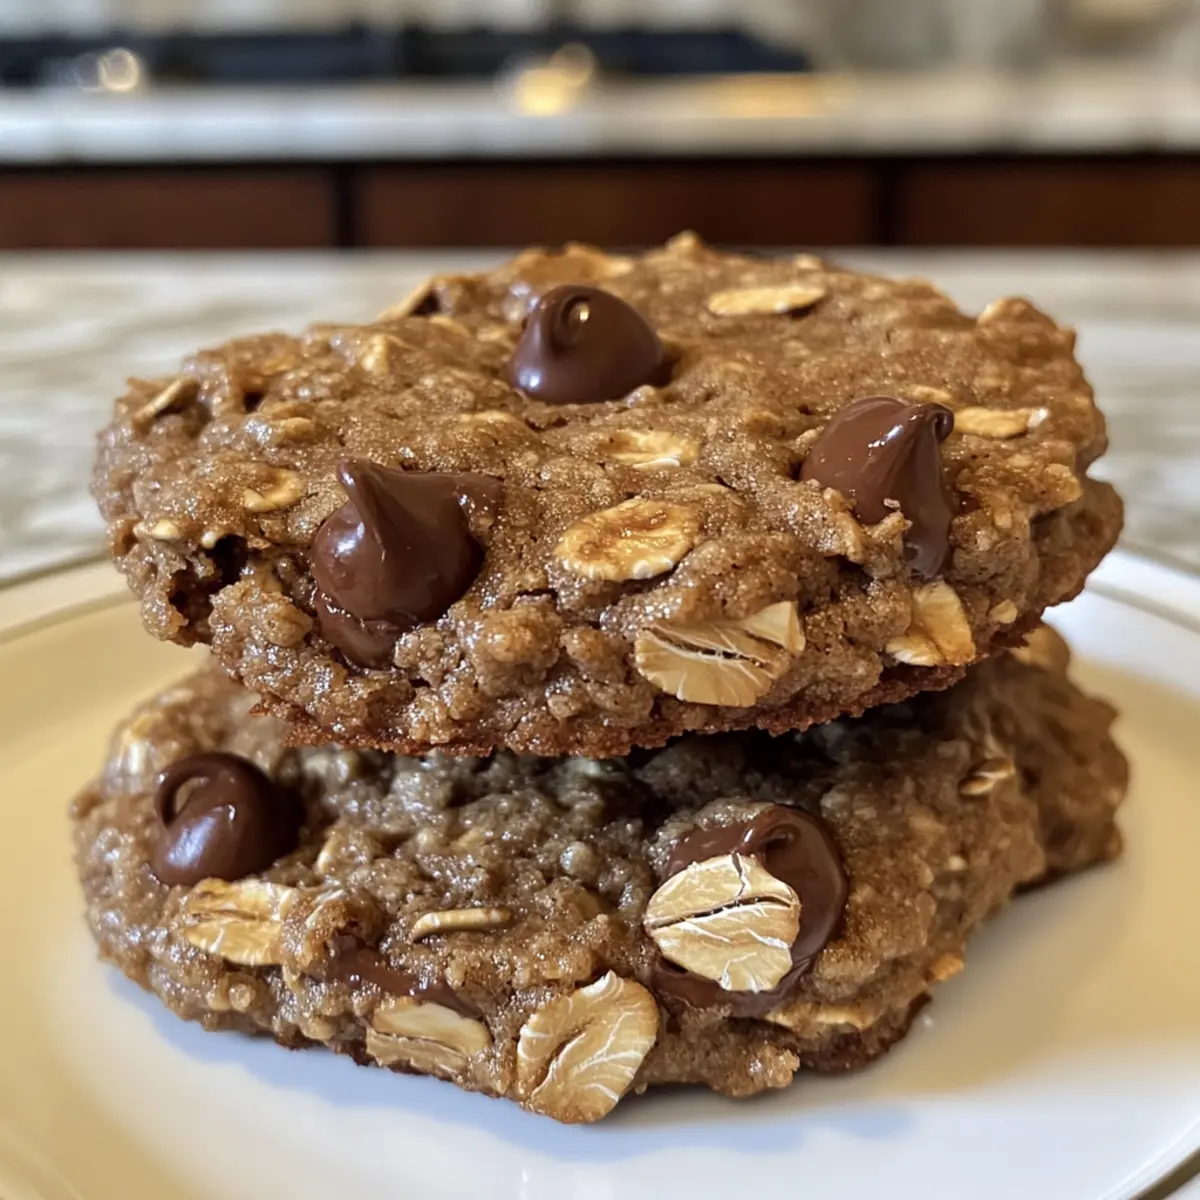
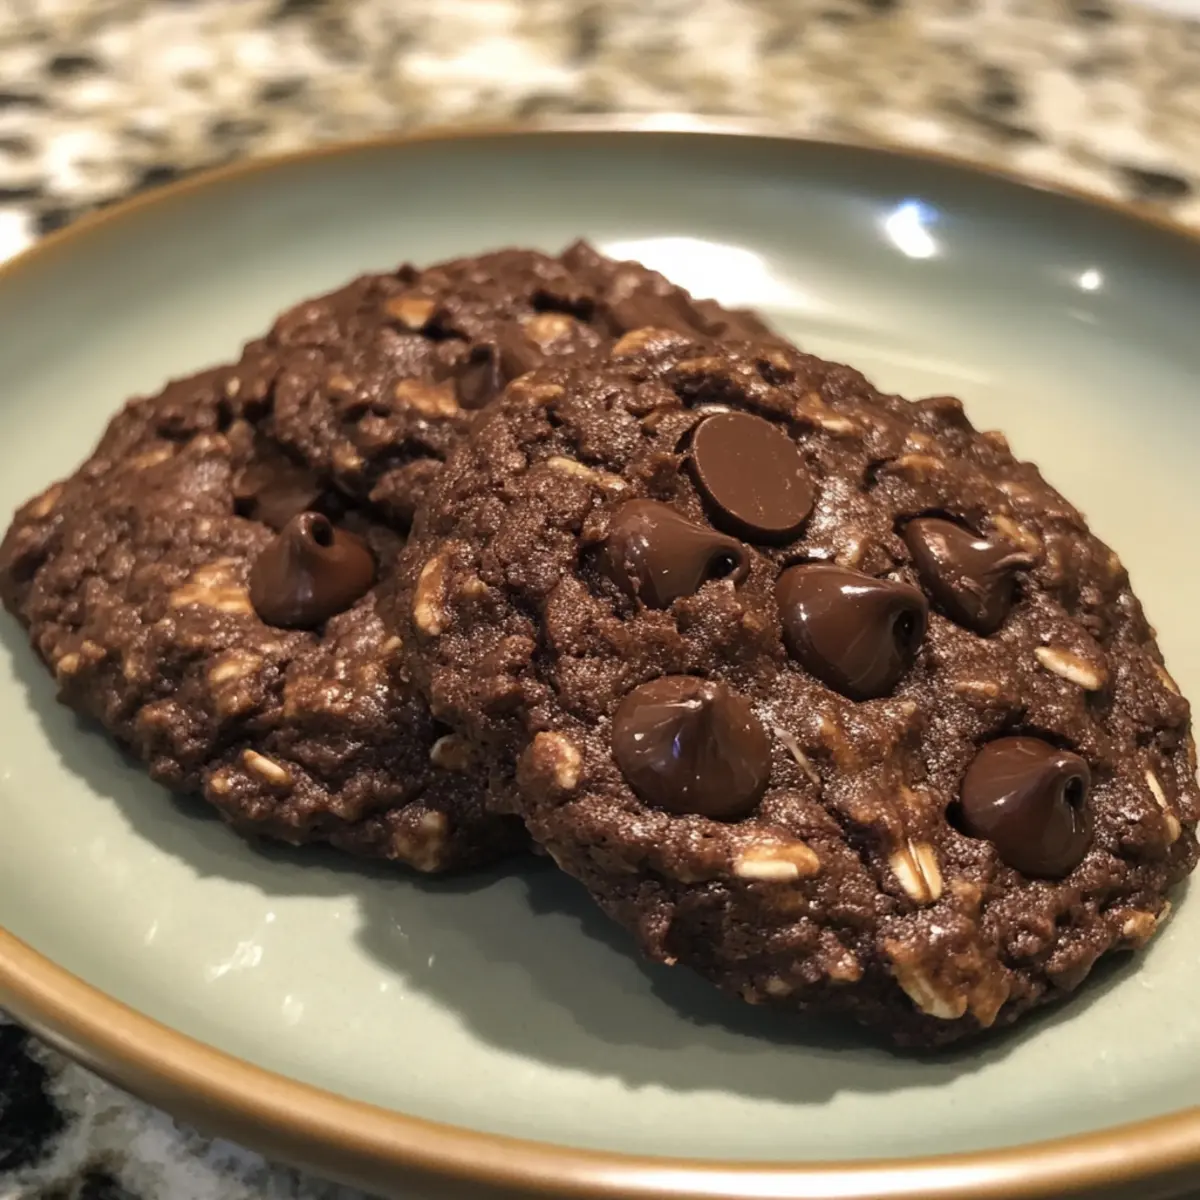
A delightful aroma filled my kitchen as I whipped up a batch of chewy chocolate oat cookies, and I instantly knew I was onto something special. This four-ingredient recipe for Chocolate Oat Cookies is a lifesaver on busy evenings when you crave something indulgent yet wholesome. Not only are these cookies satisfyingly chewy, but they are also gluten-free, making them a perfect treat for everyone to enjoy without worry. Even better, the quick prep time means you can have a warm, homemade snack ready in no time. Who says you need a long list of ingredients to create something delicious? I can’t wait to share how easy it is to bring a bit of sweetness into your kitchen. What’s your favorite way to enjoy cookies—straight from the oven or with a scoop of ice cream?
Why Are These Cookies a Must-Try?
Simplicity is key! With just four ingredients, whipping these cookies up takes no time, perfect for those busy weeknights. Chewy Delight: Each bite offers a heavenly chewy texture that keeps you reaching for more. Gluten-Free benefits cater to various diets, ensuring everyone can enjoy this treat. Customization is a breeze—swap out chocolate chips for dried fruit or nuts based on your cravings. Whether paired with a cup of coffee or savored as an afternoon snack, these cookies will make your taste buds dance!
Chocolate Oat Cookies Ingredients
• Discover the magic of these simple and delightful treats!
For the Cookies
- Oats – Provides the structure and chewiness; opt for certified gluten-free oats if needed.
- Chocolate Chips – Adds sweetness and rich flavor; dark chocolate chunks can be a deliciously less sweet alternative.
- Banana – Acts as a natural sweetener and binding agent; use applesauce for fewer calories or pureed dates for an extra sweet kick.
- Nut Butter – Enhances richness and moisture; try almond, peanut, or sunflower seed butter based on your preference or allergy needs.
Step‑by‑Step Instructions for 4-Ingredient Chewy Chocolate Oat Cookies
Step 1: Preheat the Oven
Begin by preheating your oven to 350°F (175°C). This will ensure that the cookies bake evenly and come out with a delightful golden color. While the oven heats, gather your ingredients and baking sheet. A lined baking sheet makes for easier cleanup and helps the cookies retain their shape during baking.
Step 2: Mash the Banana
In a medium-sized mixing bowl, mash one ripe banana with a fork until it’s smooth and creamy. This will serve as both a natural sweetener and binding agent for your cookies. After mashing, measure out your nut butter and add it to the bowl, mixing until the two are well incorporated and form a uniform base, which should take about 1-2 minutes.
Step 3: Combine Dry Ingredients
Next, stir in the oats and chocolate chips to the banana-nut butter mixture. Use a spatula to ensure all ingredients are evenly coated, creating a thick, sticky dough. This step is important for the consistency of your cookies, so take your time to fully integrate the ingredients, which should take around 2-3 minutes.
Step 4: Scoop the Cookie Mixture
Using a tablespoon or a cookie scoop, drop rounded balls of dough onto your prepared baking sheet, spacing them about 2 inches apart. This will allow room for spreading as they bake. Each scoop should have a nice dome shape, indicating that you’ll get those perfect, chewy chocolate oat cookies, ready for the oven!
Step 5: Bake the Cookies
Place the baking sheet in your preheated oven and bake for 10-12 minutes. Keep an eye on them and look for the edges to turn a lovely golden brown; they may still feel soft in the center. Remember, the cookies will continue to firm up as they cool, so don’t overbake for the best chewy texture.
Step 6: Cool Before Serving
Once baked, remove the cookies from the oven and let them cool on the baking sheet for about 5 minutes. This allows them to set slightly, ensuring they maintain their shape. After that, transfer the cookies to a wire rack to cool completely. Enjoy these delightful chewy chocolate oat cookies warm, or store them for later delicious treats!
How to Store and Freeze Chocolate Oat Cookies
Airtight Container: Store your cookies in an airtight container at room temperature for up to one week to maintain their delightful chewiness.
Refrigeration: If you live in a humid climate, consider refrigerating the cookies for a longer shelf life, where they can last for up to two weeks without losing flavor.
Freezing: For longer storage, freeze the cookies in a single layer on a baking sheet before transferring them to a freezer-safe bag or container, where they can last up to three months.
Reheating: To enjoy them warm, simply reheat frozen cookies in the microwave for about 15-20 seconds or in an oven at 350°F (175°C) for 5-7 minutes. You’ll love the gooey chocolate goodness in every bite!
Make Ahead Options
These Chocolate Oat Cookies are perfect for meal prep enthusiasts looking to save time on busy weeknights! You can prepare the cookie dough up to 24 hours in advance. Simply mix the ingredients as instructed, then store the dough in an airtight container in the refrigerator. When you’re ready to bake, scoop the chilled dough onto a lined baking sheet and let it sit at room temperature for about 10 minutes before baking. This resting time ensures the cookies bake evenly. For longer storage, you can freeze the formed cookie dough balls for up to 3 months; just add an extra minute to the baking time. Enjoy delicious homemade treats with minimal effort!
What to Serve with 4-Ingredient Chewy Chocolate Oat Cookies
Indulging in these warm, chewy cookies is just the beginning of your delightful meal experience. Pairing them with the right accompaniments can elevate your snack time into something truly special!
-
Creamy Ice Cream: The cool, rich flavor of vanilla or chocolate ice cream creates a delicious contrast to the warm cookies, making every bite heavenly. This drool-worthy combination is perfect for a cozy dessert night.
-
Fresh Berries: Bright and tangy berries like strawberries or raspberries add a refreshing burst that balances the cookie’s sweetness and chewy texture.
-
Nutty Granola: A sprinkle of crunchy granola on top brings added texture, and the nutty flavor pairs perfectly with the banana and chocolate in the cookies.
-
Homemade Whipped Cream: Light and airy, a dollop of whipped cream adds a touch of elegance, turning these simple cookies into a fancy treat for any occasion.
-
Warm Milk or Dairy-Free Alternative: This comforting drink enhances the cookie experience by complementing its flavors and providing a cozy feel. Try it cold for a refreshing twist!
-
Coffee or Espresso: Enjoying a cup of rich coffee or espresso alongside these cookies offers a delightful flavor pairing that awakens your taste buds.
-
Chocolate Dipping Sauce: For double the chocolate experience, serve with a side of warm chocolate sauce for dipping – the ultimate indulgence for any chocoholic!
Crawfish and Grits Variations & Substitutions
Feel free to mix and match these delicious options to elevate your crawfish and grits experience!
- Spicy Kick: Add diced jalapeños or cayenne pepper to the grits or the crawfish mix to bring a delightful heat. Just a pinch can transform the dish into a spicy sensation!
- Cheese Bliss: Stir in your favorite cheese, like cheddar or cream cheese, into the grits for added creaminess and flavor. This creates a rich, decadent twist that cheese lovers will crave.
- Vegetable Boost: Toss in sautéed bell peppers, onions, or spinach for an extra dose of veggies and flavor. They not only enhance nutrition but also add a lovely color to your dish.
- Seafood Swaps: Exchange crawfish for shrimp, crab, or scallops, depending on your preference or availability. Each variety brings its own delightful characteristics to the table.
- Creamy Alternatives: Substitute heavy cream with coconut milk or a vegan cream for a healthier or dairy-free option, ensuring everyone can enjoy the dish!
- Flavor Infusion: Experiment with different herbs; think fresh parsley, cilantro, or even chives to give your dish a fresh, zesty lift. Each herb brings its own personality to enhance the flavors.
- Under the Sea: For a unique twist, incorporate lobster or other shellfish into the mix for a luxurious dining experience. It’s like a seafood feast you can create at home!
- Crispy Finish: Top your crawfish and grits with crispy fried onions or crumbled bacon for an irresistible crunch with every bite. This delightful contrast makes the meal even more enjoyable.
And if you’re looking for more inspiration, don’t forget to check out my recipes for Panda Express Copycat or Stovetop Chili Packed!
Expert Tips for Chewy Chocolate Oat Cookies
• Ripe Bananas: Use ripe bananas for maximum sweetness and moisture, ensuring your cookies have the perfect texture.
• Watch the Bake Time: Do not overbake the cookies; they should remain slightly soft in the center for a chewy texture. Keep an eye on them!
• Mix-Ins Galore: For added texture, consider mixing in chopped nuts or seeds; this adds crunch without sacrificing the chewy goodness.
• Storage Solution: Store cookies in an airtight container for up to one week, or freeze for up to three months to enjoy chewy chocolate oat cookies anytime.
• Even Portions: Use a cookie scoop for uniform-sized cookies; this ensures even baking and a consistent chewy experience in every bite.
Chocolate Oat Cookies Recipe FAQs
What type of oats should I use for the cookies?
I recommend using rolled oats for the best structure and chewiness. If you require a strictly gluten-free version, opt for certified gluten-free oats to ensure no cross-contamination occurs.
How should I store the cookies after baking?
Store your chocolate oat cookies in an airtight container at room temperature for up to one week. If you want to keep them longer, refrigerating them can extend their freshness for about two weeks, especially in humid climates.
Can I freeze these cookies?
Absolutely! To freeze, lay the cookies in a single layer on a baking sheet to harden, then transfer them to a freezer-safe bag or container. They’ll stay fresh for up to three months. To reheat, pop them in the microwave for 15-20 seconds or warm them in the oven at 350°F (175°C) for about 5-7 minutes.
What if my cookies come out too dry?
If your cookies are dry, it might be due to overbaking or using an unripe banana. Make sure to remove them from the oven as soon as the edges turn golden but the centers remain soft. Additionally, using a ripe banana adds moisture; look for one with brown spots for the best results!
Are there any dietary considerations?
These cookies can be made nut-free by substituting nut butter with sunflower seed butter, perfect for those with allergies. If you’re watching out for sweetness, you can replace the banana with unsweetened applesauce or pureed dates to cater to your dietary preferences while keeping the deliciousness intact!
Delicious Crawfish and Grits for a Comforting Meal Adventure
Ingredients
Equipment
Method
- Preheat your oven to 350°F (175°C) to ensure even baking.
- Mash a ripe banana in a medium-sized mixing bowl until smooth and creamy.
- Stir in the oats and chocolate chips to the banana-nut butter mixture to create a thick dough.
- Drop rounded balls of dough onto your prepared baking sheet, spacing them about 2 inches apart.
- Bake for 10-12 minutes, watching for edges to turn golden brown.
- Cool on the baking sheet for about 5 minutes, then transfer to a wire rack to cool completely.