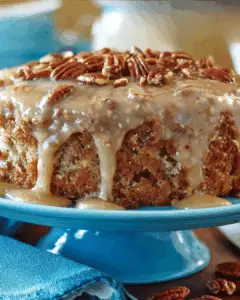
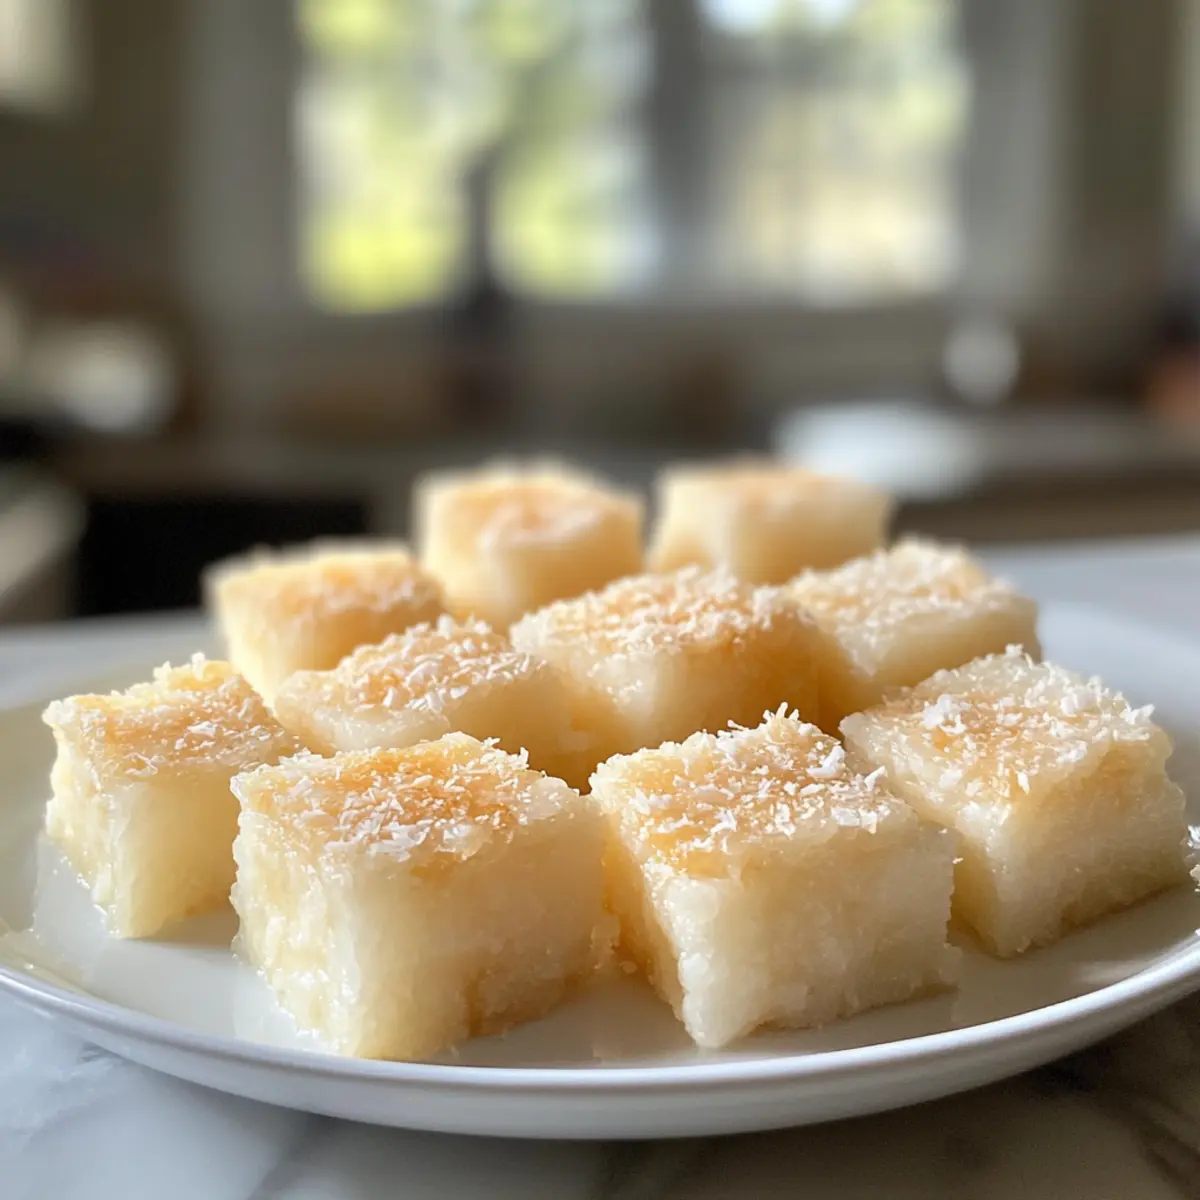
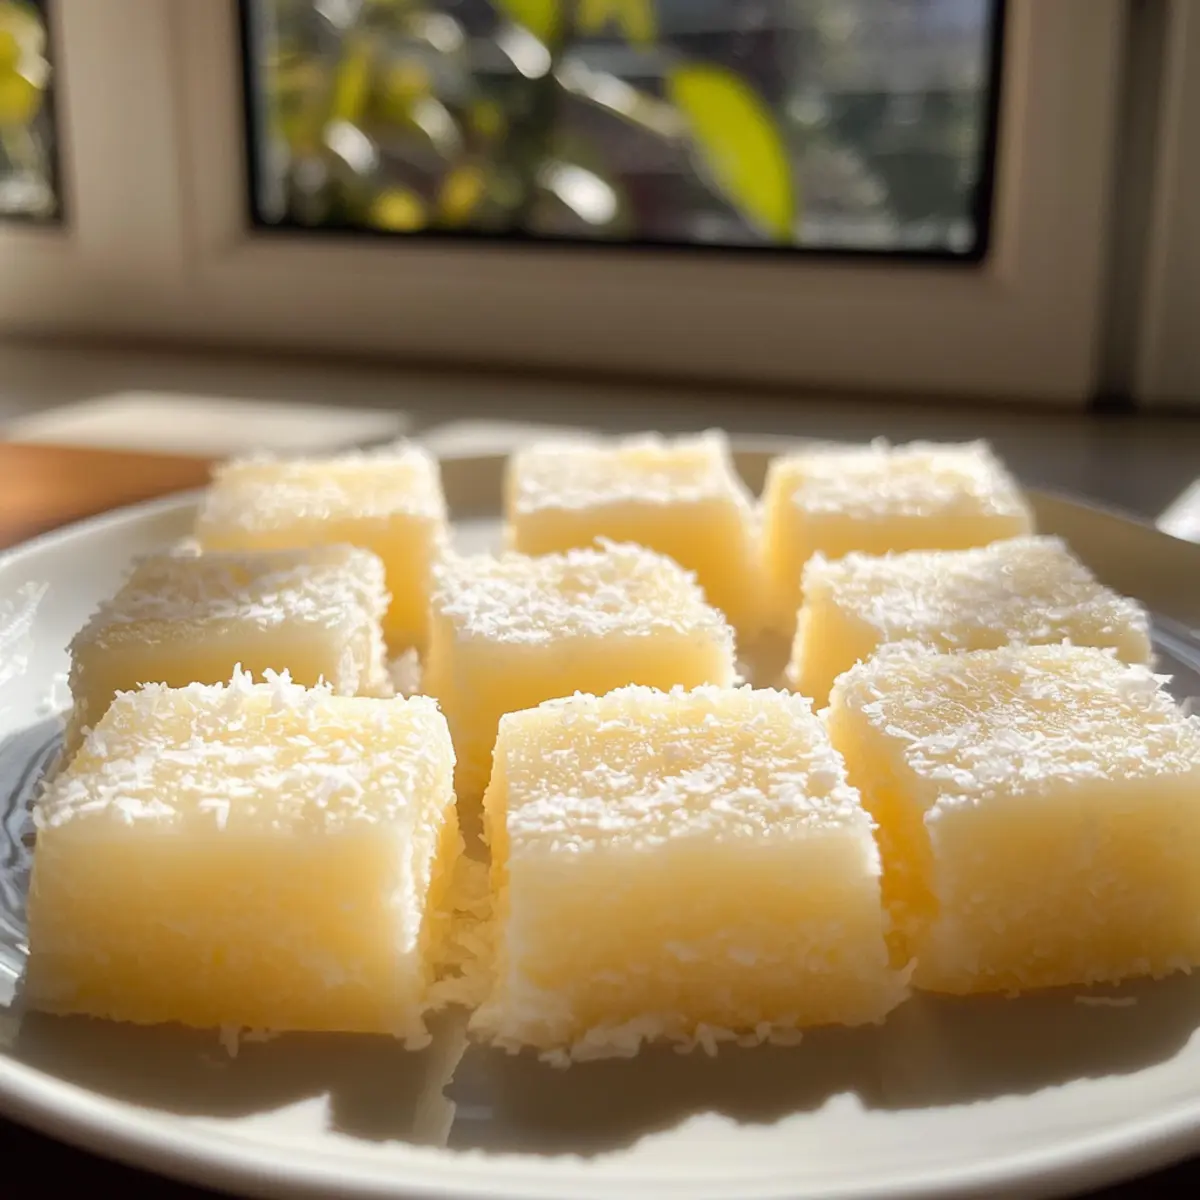
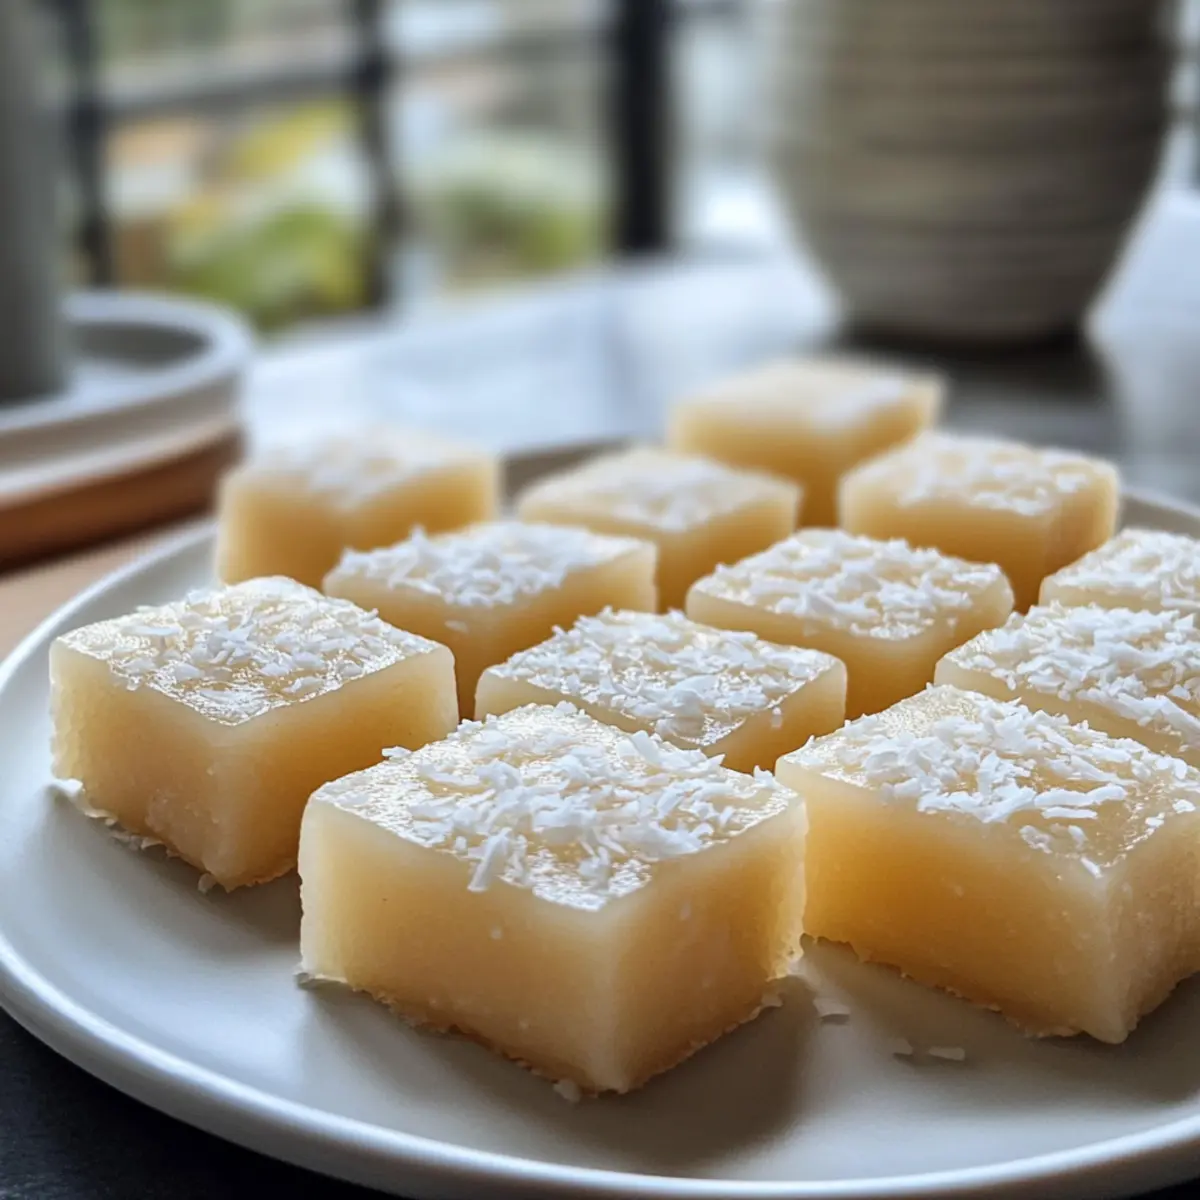
As I was sorting through my pantry for a quick dessert fix, I stumbled upon an unopened bag of glutinous rice flour, and a delicious idea struck me. What if I could transform this simple ingredient into something delightful? Enter my Chewy Sugar-Free Butter Mochi—a gluten-free dessert that captures the essence of traditional mochi while keeping it wholesome. This recipe is a game-changer for anyone craving a chewy, buttery treat without the guilt of added sugars. Not only does it make for a perfect homemade indulgence, but it’s also incredibly easy to prepare, meaning you can impress your family and friends with minimal effort. Curious about how to bring this unique dessert to life? Let’s dive into the scrumptious world of sugar-free mochi!
Why Make Sugar-Free Butter Mochi?
Irresistible combination: The chewy texture and rich buttery flavor create a memorable dessert experience you won’t forget.
Health-conscious delight: With no added sugars and gluten-free ingredients, this mochi caters to your sweet tooth while keeping your diet in check.
Quick and easy: Made in just a few simple steps, it’s a breeze to whip up when unexpected guests arrive!
Versatile variations: Customize your mochi by adding flavors like shredded coconut or even chocolate chips, ensuring there’s something for everyone.
Cultural twist: Experience a modern take on traditional Japanese mochi, perfect for impressing friends with your culinary prowess without sacrificing health!
If you’re looking for more flavorful twists, you might enjoy my Peanut Butter Yogurt or check out these Beef Shells with Vegetables.
Delicious Sugar-Free Butter Mochi Ingredients
For the Mochi Base
• Glutinous Rice Flour – This ingredient is essential for that signature chewy texture; no substitutions will yield the same result.
• Natural Sweeteners – Choose options like stevia or erythritol to keep it sugar-free while adding a sweet kick.
• Butter – This gives the mochi its rich, buttery flavor; for a dairy-free version, coconut oil works wonders.
Optional Ingredients
• Coconut Milk – Enhances the richness and adds a delightful hint of coconut flavor; almond milk offers a nutty alternative!
These ingredients come together to create a delicious sugar-free butter mochi that everyone will adore!
Step‑by‑Step Instructions for Delicious Sugar-Free Butter Mochi
Step 1: Preheat Your Oven
Begin by preheating your oven to 350°F (175°C), ensuring that it’s thoroughly warmed before your batter goes in. This temperature is crucial for achieving that golden crust around the edges that signals a perfectly baked mochi. While your oven heats up, gather your baking dish and grease it well with butter or cooking spray to prevent sticking.
Step 2: Combine Dry Ingredients
In a large mixing bowl, combine the glutinous rice flour and your choice of natural sweeteners. Use a whisk to blend them together thoroughly, ensuring there are no lumps left behind. This step is essential to create a smooth and even texture in your delicious sugar-free butter mochi. Clear your workspace as you move on to the next step, keeping your ingredients organized.
Step 3: Add Wet Ingredients
Now, pour the melted butter into your dry mixture. If you’re using coconut milk or another optional ingredient, add that in as well. Mix everything together with a spatula until you achieve a smooth and glossy batter, free of lumps. The consistency should be slightly thicker than pancake batter. Make sure to scrape the sides and bottom of the bowl to incorporate all the ingredients.
Step 4: Pour into Baking Dish
Carefully pour the batter into your greased baking dish, taking care to spread it evenly with your spatula. Smooth the top as needed to ensure uniform baking. The batter should fill the dish about halfway to allow for rising during baking. Once settled, you can gently tap the dish on the counter to eliminate any air bubbles, which helps achieve that delightful chewy texture.
Step 5: Bake the Mochi
Place the baking dish in your preheated oven and bake the sugar-free butter mochi for about 30–35 minutes. Keep an eye on it as it cooks; you want the edges to turn a light golden brown while the center should appear set. A toothpick inserted into the middle should come out slightly moist but not wet, indicating that it’s ready.
Step 6: Cool and Cut
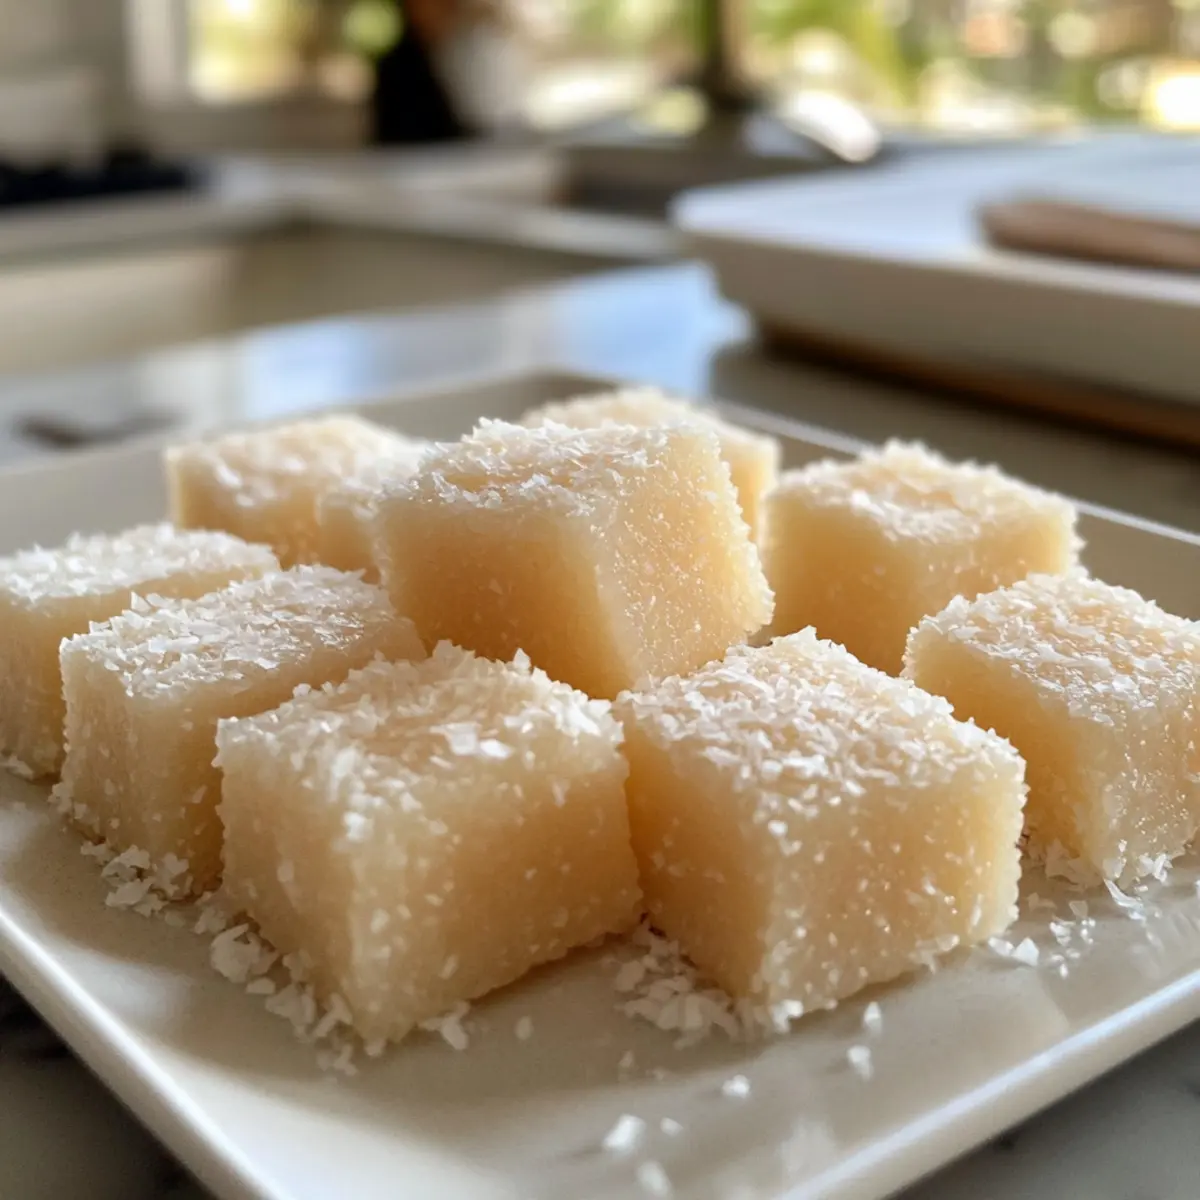
Remove the delicious sugar-free butter mochi from the oven and let it cool in the pan for about 10 minutes. This brief resting period allows the mochi to firm up slightly, making it easier to cut. Once cooled, transfer it to a cutting board and cut into squares or rectangles as desired. Allow the mochi to cool completely at room temperature to achieve the best texture before serving.
Expert Tips for Delicious Sugar-Free Butter Mochi
-
Baking Time: Don’t overbake the mochi; keep an eye on it to ensure a soft, chewy texture instead of a dry result.
-
Mixing Method: Avoid lumps: mix thoroughly using a whisk, ensuring a smooth batter is achieved, which is essential for a delightful chewy mochi.
-
Cooling Process: Let the mochi cool completely before cutting. This helps preserve the shape and ensures the perfect texture for your delicious sugar-free butter mochi.
-
Add-ins Flexibility: Feel free to experiment with mix-ins like shredded coconut or dairy-free chocolate chips for unique flavors and added texture!
-
Storage Tips: Store in an airtight container at room temperature for up to 3 days, or refrigerate for longer freshness while maintaining that delectable chewiness.
Delicious Sugar-Free Butter Mochi Variations
Feel free to explore these exciting twists on the classic mochi, enhancing both flavor and texture!
- Dairy-Free: Replace regular butter with coconut oil or vegan butter for a similar rich taste without dairy.
- Nutty Flavor: Opt for almond milk instead of coconut milk to introduce a subtle nuttiness—perfect for adding depth.
- Sweetness Switch: Substitute natural sweeteners with maple syrup for a delightful hint of maple that complements the mochi beautifully.
- Coconut Bliss: Add shredded coconut to the batter for a tropical twist; it brings extra chewiness and a lovely flavor.
- Choco Surprise: Mix in dairy-free chocolate chips for an indulgent treat. The melted chocolate adds luscious pockets of sweetness throughout!
- Cinnamon Kick: Incorporate ground cinnamon into the batter for a warm, cozy spice that elevates the overall taste experience.
- Fruity Infusion: Fold in mashed bananas or pureed pumpkin for added moisture and flavor. They add a lovely depth, making your mochi unique.
Looking for more delicious ideas? You might enjoy my Peanut Butter Banana recipe for a nutritious breakfast or try my take on Protein Peanut Butter for a guilt-free dessert.
What to Serve with Chewy Sugar-Free Butter Mochi?
Elevate your dessert experience and create a delightful spread with complementary flavors and textures that enhance this chewy treat.
-
Fresh Fruit Medley: Juicy slices of mango, strawberries, and kiwi add a refreshing contrast and bring a burst of vibrant color to your dessert table. The natural sweetness of the fruits balances perfectly with the buttery mochi.
-
Coconut Whipped Cream: Lighter than traditional whipped cream, coconut cream adds a dreamy layer of flavor that pairs beautifully with the mochi’s richness. Just a dollop can transport each bite to tropical paradise.
-
Matcha Green Tea Latte: The earthy, slightly bitter notes of matcha contrast wonderfully with the sweet mochi. This creamy drink creates a soothing vibe, making it a lovely accompaniment for savoring after dinner.
-
Chocolate Drizzle: A drizzle of rich dark chocolate or a sugar-free chocolate syrup adds a touch of indulgence. This decadent option elevates the flavors while appealing to chocolate lovers.
-
Toasted Sesame Seeds: Sprinkling some toasted sesame seeds on top provides a delightful crunch and adds a toasty flavor that complements the mochi’s soft texture. It’s a simple yet elegant touch.
-
Coffee or Tea: A warm cup of freshly brewed coffee or herbal tea makes the perfect partner for this sweet treat. The warmth of the beverage contrasts nicely against the chewy mochi, creating a cozy dessert experience.
-
Shredded Coconut Topping: A sprinkle of toasted coconut enhances the tropical feel of the mochi and adds a satisfying texture. It’s an excellent way to amplify the coconut flavor used in the recipe.
-
Fruit Sorbet: A scoop of fruity sorbet, such as raspberry or lemon, adds a zesty contrast to the mochi’s richness. It’s a refreshing palate cleanser that brightens up every bite.
-
Chia Seed Pudding: For a healthy pairing, consider a light chia seed pudding. The soft, creamy texture with a hint of sweetness is a delightful complement to the chewy mochi.
The options are endless, allowing you to explore delightful combinations that add flair and flavor to your delicious sugar-free butter mochi experience!
Make Ahead Options
These delicious sugar-free butter mochi are perfect for meal prep enthusiasts looking to save time during busy weeks! You can prepare the batter up to 24 hours in advance by mixing all your dry ingredients, adding the melted butter, and any optional ingredients, then storing it in an airtight container in the refrigerator. When you’re ready to bake, simply pour the batter into your greased baking dish and bake as instructed. For an even more convenient approach, you can bake the mochi and allow them to cool completely; then, store the cut pieces in an airtight container at room temperature for up to 3 days. This way, you can enjoy chewy, rich buttery flavor whenever cravings strike, just as delicious as when freshly made!
How to Store and Freeze Delicious Sugar-Free Butter Mochi
Room Temperature: Keep your mochi in an airtight container at room temperature for up to 3 days, ensuring it remains chewy and delicious.
Fridge: For longer freshness, refrigerate the mochi in an airtight container for up to a week. Just let it come to room temperature before enjoying!
Freezer: Freeze the mochi by wrapping it tightly in plastic wrap and placing it in a freezer-safe bag. It will keep well for up to 2 months. Thaw at room temperature before serving.
Reheating: If desired, reheat individual pieces in the microwave for about 10-15 seconds for that fresh-out-of-the-oven feel, keeping your delicious sugar-free butter mochi soft and delightful!
Delicious Sugar-Free Butter Mochi Recipe FAQs
How do I choose the right glutinous rice flour?
When selecting glutinous rice flour, look for high-quality brands that specifically mention “glutinous” or “sweet rice flour” on the package. This ensures that the flour has the right sticky quality needed for that authentic chewy mochi texture. Always check for freshness; avoid any bags that show signs of moisture or clumping.
What is the best way to store baked mochi?
To keep your delicious sugar-free butter mochi fresh, store it in an airtight container at room temperature for up to 3 days. For extended freshness, refrigerate in an airtight container for up to a week. Before serving, let it come back to room temperature for the best texture!
Can I freeze sugar-free butter mochi?
Absolutely! To freeze your mochi, tightly wrap individual pieces in plastic wrap and place them in a freezer-safe bag. This method helps retain moisture and flavor. Your mochi can be frozen for up to 2 months. When ready to enjoy, allow it to thaw at room temperature, and it will taste just as delightful!
What should I do if my mochi turns out too dry?
If your mochi is dry, it could be due to overbaking; keep an eye on it next time! To remedy dry mochi, try adding a tablespoon of water or coconut milk to the batter for extra moisture before baking. Additionally, letting the mochi cool properly helps maintain its chewy texture.
Can pets eat sugar-free butter mochi?
No, it’s best to keep this dessert away from your pets. Natural sweeteners like erythritol can be harmful to dogs, causing digestive issues. Always enjoy your delicious sugar-free butter mochi yourself and share pet-safe treats with your furry friends instead!
Delicious Sugar-Free Butter Mochi: Chewy Bliss Awaits!
Ingredients
Equipment
Method
- Preheat your oven to 350°F (175°C) and grease your baking dish.
- In a mixing bowl, combine glutinous rice flour and natural sweeteners using a whisk.
- Pour melted butter (and optional coconut milk) into the dry mixture and mix until smooth.
- Pour the batter into the greased baking dish, smoothing the top.
- Bake for 30-35 minutes until the edges are golden and a toothpick comes out slightly moist.
- Let cool in the pan for 10 minutes before transferring to a cutting board to cut into squares.