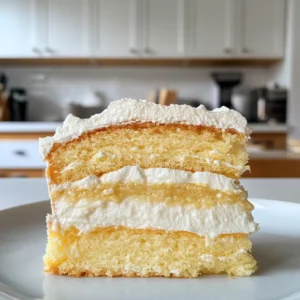
As I pulled a warm slice of cake from the oven, the rich, buttery aroma instantly filled my kitchen, wrapping around me like a cozy hug. This is not just any cake—it’s a Melt-in-Your-Mouth Cake, designed to impress while being budget-friendly and delightfully simple to whip up. Picture soft, fluffy layers waiting to be graced with a creamy filling, turning dessert into pure bliss. Whether it’s a festive gathering or a cozy family dinner, this cake is versatile enough to steal the spotlight without stretching your wallet. Best of all, even beginner bakers will find joy in crafting this delectable treat. Are you ready to elevate your dessert game and bring a smile to the faces of those you love?
Why is Melt-in-Your-Mouth Cake a Must-Try?
Effortless Delight: This cake is perfect for beginners, requiring no advanced techniques or fancy equipment—just simple, wholesome ingredients.
Endless Customization: Add your favorite flavors like vanilla or lemon zest, or even incorporate fruits for a seasonal twist that keeps your taste buds excited.
Budget-Friendly: You can create a delicious dessert without breaking the bank, making it ideal for everyday celebrations or special occasions alike.
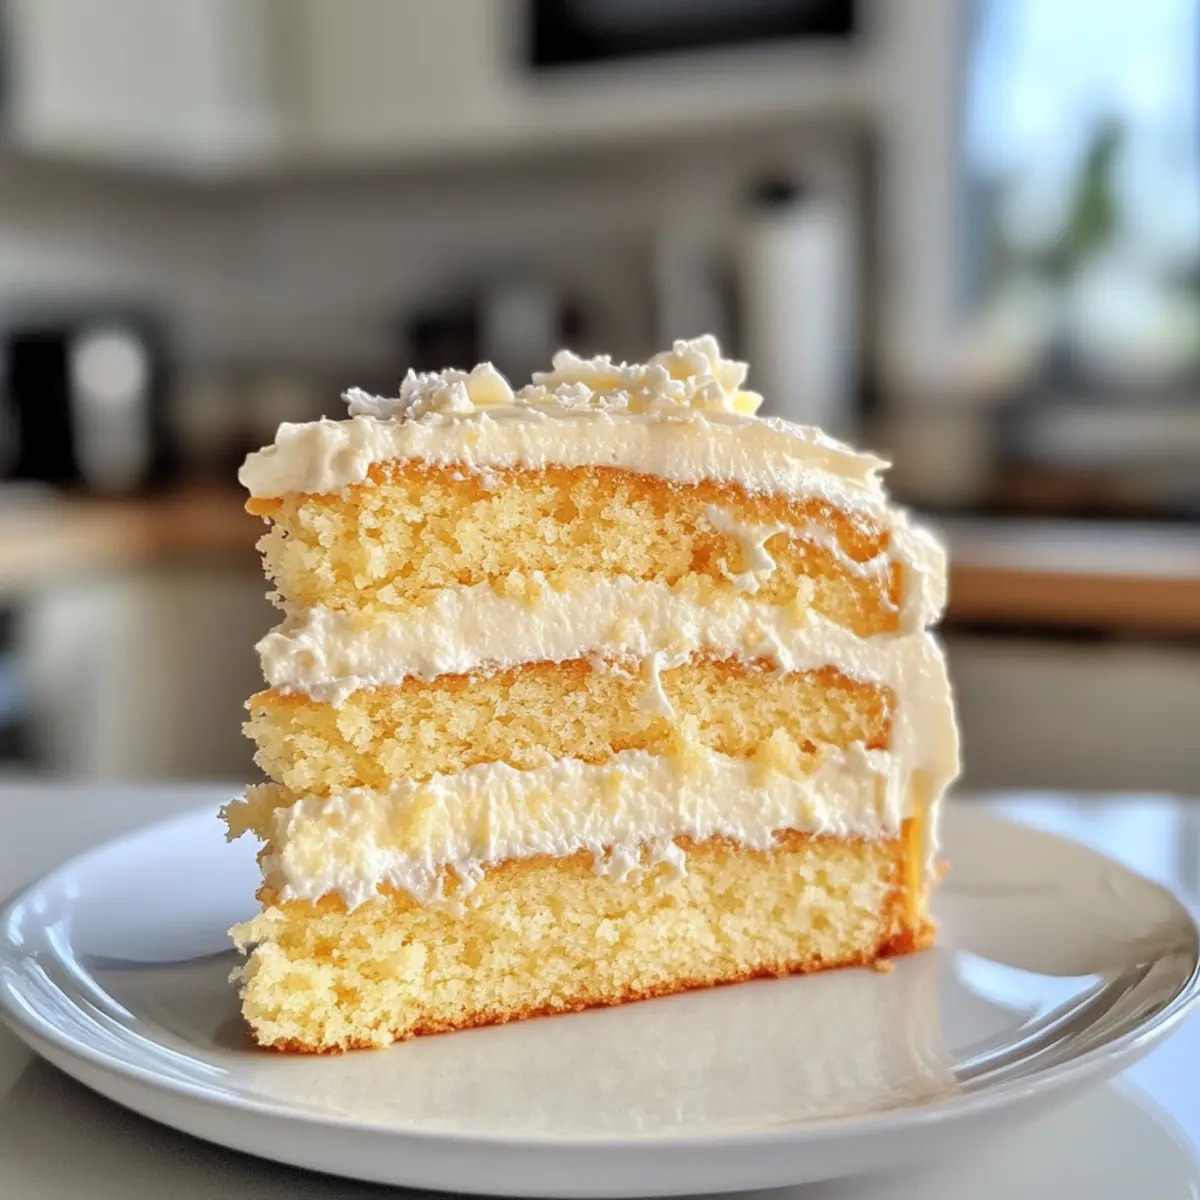
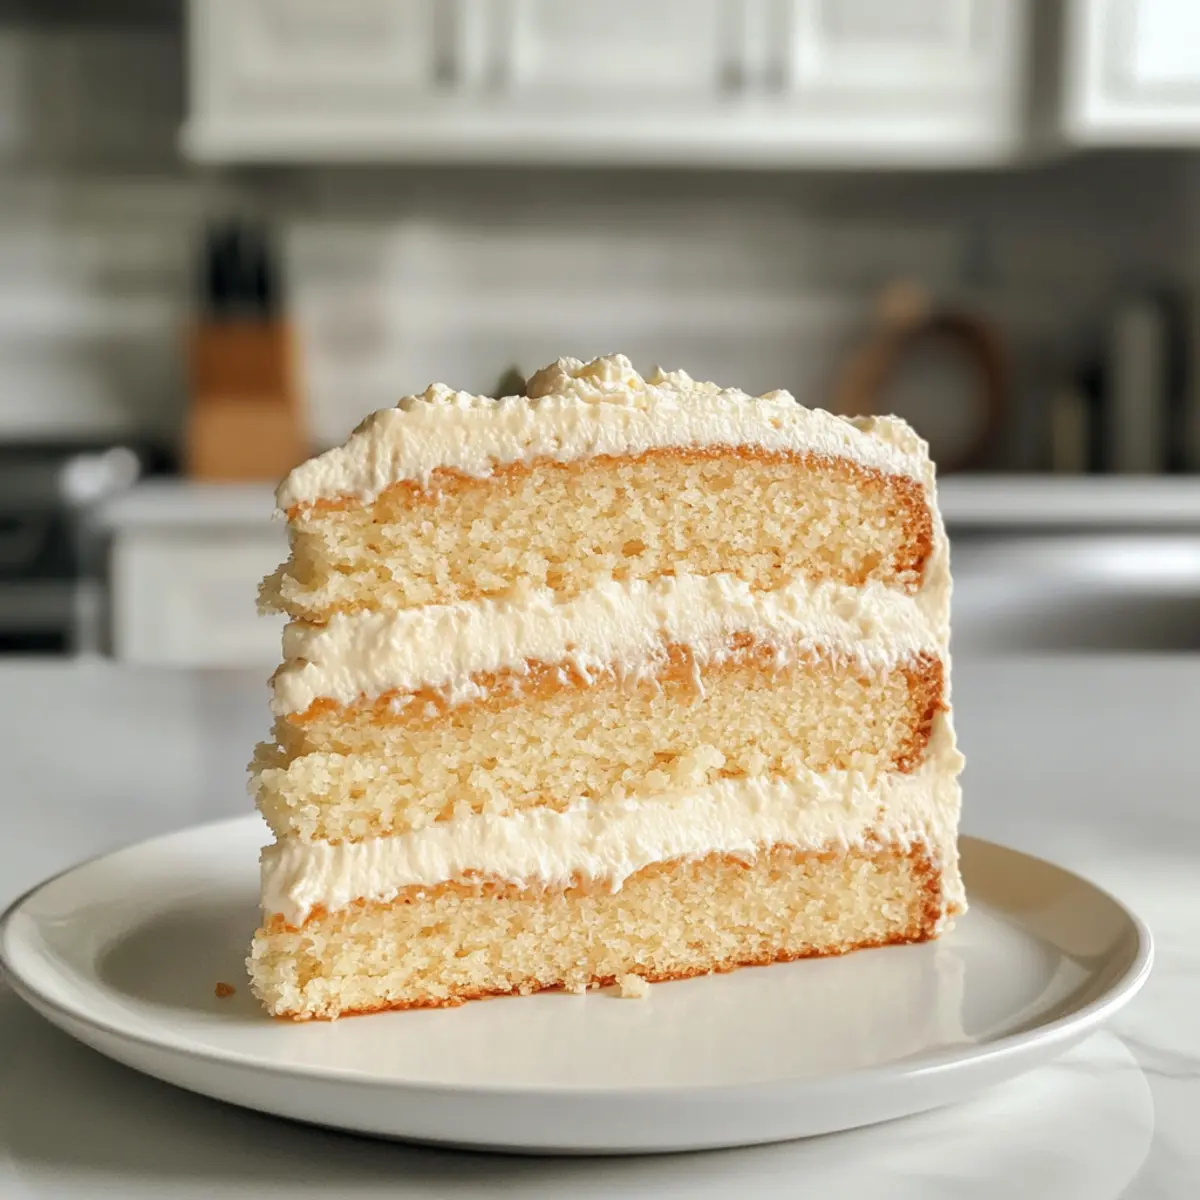
Texture Perfection: Enjoy the soft, fluffy cake with a creamy filling that truly feels indulgent, making every bite a piece of heavenly bliss.
Pair it with fresh berries or a dollop of whipped cream for an even more delightful experience—you’ll find it hard to stop at just one slice! If you’re in the mood for more sweet treats, check out my Strawberry Lemon Cake or the rich Caramel Brownie Cheesecake for more inspiring recipes.
Melt-in-Your-Mouth Cake Ingredients
For the Cake
• All-Purpose Flour – Provides structure; can substitute with gluten-free flour blend for a gluten-free option.
• Water – Adds moisture to the batter; substitute with extra milk for creaminess.
• Milk – Contributes to the cake’s richness; any type works, including almond or oat milk for alternatives.
• Butter – Adds flavor and moisture; margarine or coconut oil are great dairy-free substitutes.
• Eggs – Essential for binding ingredients; use flax eggs (1 tablespoon ground flaxseed mixed with 2.5 tablespoons water) for a vegan option.
• Baking Powder – Acts as a leavening agent; always check freshness for the best rise.
• Salt – Enhances flavor; can be omitted if reducing sodium intake.
For the Filling
• Milk (for filling) – Provides creaminess; same substitutions apply as the cake batter.
• Sugar (for filling) – Sweetens the filling; coconut sugar or your preferred sweetener can be used.
• Flour (for filling) – Thickens the filling; ensure it matches the type used in the cake.
• Eggs (for filling) – Binds the filling; same substitutes as the main recipe.
• Butter (for filling) – Adds richness; see earlier substitutes for a dairy-free option.
• Icing Sugar – Optional for garnish; dusting on top enhances presentation and sweetness.
This Melt-in-Your-Mouth Cake is ready to shine in your kitchen and impress your family and friends! Enjoy the delightful process of baking this wonderful dessert.
Step‑by‑Step Instructions for Melt-in-Your-Mouth Cake
Step 1: Preheat and Prepare
Begin by preheating your oven to 180°C (350°F). While the oven warms up, grab a 9-inch round baking pan and generously grease it with butter or oil to prevent the cake from sticking. This preparation will ensure a smooth release once the Melt-in-Your-Mouth Cake is baked.
Step 2: Mix Dry Ingredients
In a large mixing bowl, combine 2 cups of all-purpose flour, 2 teaspoons of baking powder, and a pinch of salt. Whisk these ingredients together until they are well blended and evenly distributed. This step is crucial for the structure of the cake, setting the foundation for that melt-in-your-mouth texture you’re aiming for.
Step 3: Beat the Eggs and Sugar
In a separate medium bowl, beat 3 eggs and 1 cup of sugar together until the mixture becomes light and fluffy, which should take about 3-5 minutes. This step incorporates air into the mixture, helping the cake to rise beautifully as it bakes. Make sure to use a hand mixer or stand mixer for the best result.
Step 4: Add Wet Ingredients
Gradually drizzle in ½ cup of melted butter, 1 cup of water, and 1 cup of milk into the egg and sugar mixture while continuously mixing. Blend these ingredients well until they create a smooth batter. These liquids are essential for achieving that rich, moist consistency in the Melt-in-Your-Mouth Cake.
Step 5: Combine Ingredients
Gently fold the dry ingredients into the wet mixture using a spatula or wooden spoon. Mix just until no dry flour is visible, taking care not to overmix, which can lead to a denser cake. You want a thick yet airy batter that will bake up light and fluffy.
Step 6: Bake the Cake
Pour the batter into your prepared baking pan and spread it evenly. Place the pan in the preheated oven and bake for approximately 40 minutes. To check for doneness, insert a toothpick into the center—if it comes out clean or with just a few crumbs, the cake is ready to be removed.
Step 7: Prepare the Filling
While the cake is cooling, prepare the filling. In a saucepan over medium heat, combine 1 cup of milk and ½ cup of sugar, stirring until the sugar dissolves. In a separate bowl, whisk together 2 tablespoons of flour and 2 eggs until smooth, then incorporate this mixture into the saucepan. Stir continuously until it thickens, then remove from heat and let it cool slightly.
Step 8: Assemble the Cake
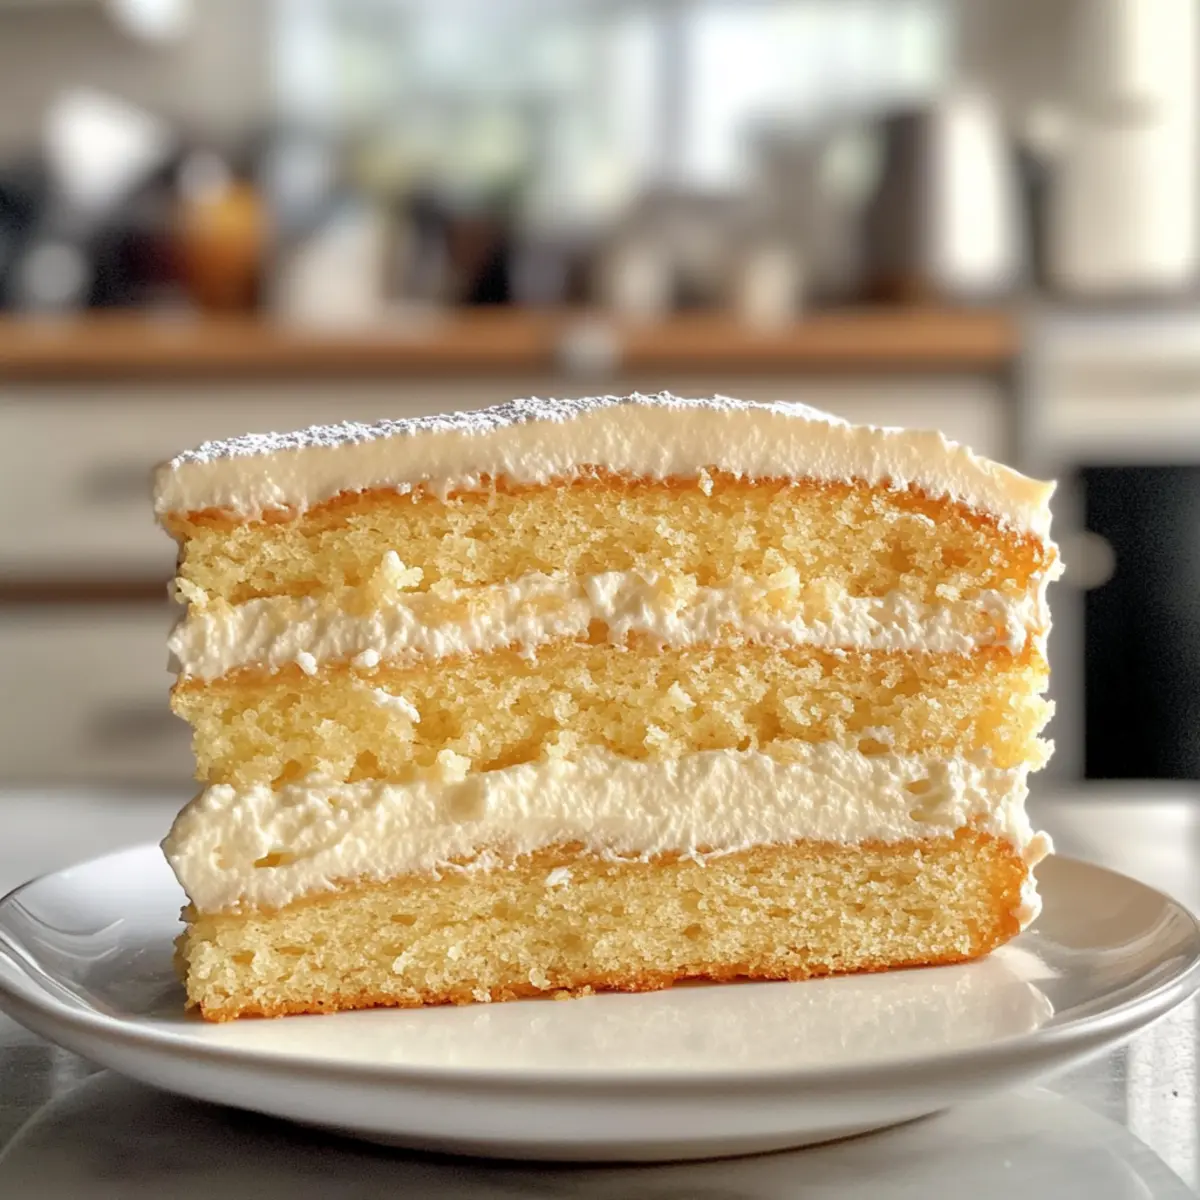
Once your cake layers have cooled completely, carefully slice them horizontally into two equal layers if desired. Spread the creamy filling generously between the layers, ensuring an even distribution for a delectable bite every time. For a final touch, dust the top with icing sugar for an elegant presentation.
Step 9: Serve and Enjoy
Your Melt-in-Your-Mouth Cake is now ready to be enjoyed! Slice into generous portions and serve at room temperature. Consider pairing the cake with fresh berries or a dollop of whipped cream to enhance the flavors and provide a delightful contrast to the creamy filling.
Melt-in-Your-Mouth Cake: Customize Your Creation
Embrace your creativity and make this cake your own—let’s explore some delightful twists and substitutions to enhance the flavors!
-
Fruity Fusion:
Add mashed bananas or fresh berries into the batter for a refreshing twist that brings a burst of natural sweetness. -
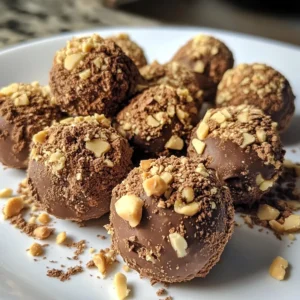
Nutty Addition:
Incorporate chopped nuts like walnuts or almonds into the filling for a delightful crunch and rich flavor contrast. -
Dairy-Free Delight:
Substitute butter with coconut oil and use dairy-free milk for a vegan-friendly version that retains its melt-in-your-mouth quality. -
Zesty Infusion:
A splash of orange or lemon zest in the batter adds a vibrant, zesty flavor that pairs beautifully with the sweet filling. -
Chocolate Twist:
Mix in cocoa powder or melted dark chocolate for a luscious chocolate cake that will satisfy any chocoholic’s cravings. -
Herbal Note:
Infuse the filling with a touch of mint or basil for an adventurous flavor that takes your cake to a new level of sophistication. -
Spicy Warmth:
Incorporate ground cinnamon or nutmeg in the batter for a warm, cozy flavor profile that’s perfect for fall gatherings. -
Elegant Finish:
Top your cake with a light ganache or cream cheese frosting for a touch of decadence that enhances its presentation and flavor.
For more delicious dessert ideas, be sure to try my light and refreshing Strawberry Lemon Cake or indulge in the rich flavors of my Creme Brulee Cheesecake. Enjoy customizing your Melt-in-Your-Mouth Cake!
Expert Tips for Melt-in-Your-Mouth Cake
-
Room Temperature Ingredients: Ensure all ingredients are at room temperature for better blending and a lighter texture in your Melt-in-Your-Mouth Cake.
-
Avoid Overmixing: Be gentle when folding in dry ingredients—overmixing can lead to a dense cake instead of the airy, fluffy texture you desire.
-
Baking Time Variations: Every oven is different; start checking your cake for doneness around 35 minutes to prevent overbaking, which can dry it out.
-
Chill the Filling: Allow the filling to cool before spreading it on the cake layers. This helps it set up a bit and prevents it from making the layers soggy.
-
Flavor Infusions: Experiment with different flavorings like almond extract or spices such as cinnamon to customize your Melt-in-Your-Mouth Cake and keep it exciting!
-
Storing Leftovers: Keep any uneaten slices in an airtight container in the fridge for up to a week, ensuring you can enjoy this delightful cake multiple times!
Make Ahead Options
These Melt-in-Your-Mouth Cakes are perfect for meal prep enthusiasts! You can prepare the cake layers up to 24 hours in advance and refrigerate them in an airtight container to keep them fresh. For the filling, consider making it ahead as well; it can be stored in the fridge for up to 3 days. Just remember to let both the cake and filling come to room temperature before assembling. When it’s time to serve, simply slice the cake, fill it with the creamy mixture, and dust the top with icing sugar for a beautiful finish. This make-ahead approach saves time and ensures that your dessert is just as delicious when you’re ready to enjoy it!
What to Serve with Melt-in-Your-Mouth Cake?
Delight your taste buds with perfect pairings that elevate your dessert experience to new heights.
-
Fresh Berries: The burst of flavor in strawberries or blueberries beautifully contrasts the cake’s creamy filling, enhancing its sweetness.
Add a sprinkling of these juicy gems on the side for a refreshing touch. -
Whipped Cream: A dollop of fluffy whipped cream adds a luscious richness to each slice, making it irresistible.
The airy texture complements the cake’s softness, creating a delightful balance. -
Chocolate Sauce: Drizzle rich chocolate sauce over the cake for an indulgent treat that satisfies any sweet tooth.
This decadent addition enhances the overall flavor, making each bite more luxurious. -
Mint Leaves: Fresh mint leaves add a pop of color and a refreshing zing, harmonizing beautifully with the buttery layers.
A simple garnish turns your presentation into a showstopper. -
Vanilla Ice Cream: Creamy vanilla ice cream is the ultimate companion, providing a cooling contrast to the warm cake.
This combo is perfect for decadent celebrations or cozy nights in. -
Espresso or Coffee: A strong cup of espresso elevates your dessert experience, balancing sweetness with a robust flavor.
Sipping on coffee alongside the cake creates a comforting after-dinner pairing. -
Caramel Drizzle: Top with a warm caramel drizzle for a sweet and buttery touch that complements the creamy filling.
The luxurious sauce adds an extra layer of indulgence that’s hard to resist. -
Citrus Zest: Sprinkle some lemon or orange zest on top for an unexpected brightness that cuts through the richness.
This zesty finish adds depth, making each bite even more intriguing. -
Sweet Wine: A glass of sweet dessert wine pairs seamlessly, enhancing the cake’s flavors while providing a touch of elegance.
Sipping wine further enriches your experience, making it perfect for special occasions or intimate gatherings.
How to Store and Freeze Melt-in-Your-Mouth Cake
- Fridge: Store uneaten cake slices in an airtight container for up to 1 week to maintain freshness and prevent them from drying out.
- Freezer: For longer storage, wrap individual slices tightly in plastic wrap followed by foil. They can be frozen for up to 3 months.
- Thawing: When ready to enjoy, thaw the cake in the fridge overnight or at room temperature for a few hours. Reheat slices in the microwave for about 10-15 seconds for a warm treat.
- Serving: Enjoy your thawed Melt-in-Your-Mouth Cake chilled or warmed—either way, it’s a delightful indulgence that will surely please!
Melt-in-Your-Mouth Cake Recipe FAQs
How can I choose the right ingredients for the Melt-in-Your-Mouth Cake?
Absolutely! The key is to choose fresh ingredients. For the best results, ensure your eggs are fresh and your baking powder is within its use-by date. When selecting milk, feel free to go for any type, whether it’s dairy or plant-based, based on your dietary preferences.
What’s the best way to store my leftover Melt-in-Your-Mouth Cake?
Very good question! Store any uneaten slices of your Melt-in-Your-Mouth Cake in an airtight container in the fridge. It’ll stay fresh for up to a week. Just make sure to let it cool completely before storing to avoid any condensation that could make it soggy.
Can I freeze the Melt-in-Your-Mouth Cake?
Absolutely! If you want to stock up for later, wrap individual slices tightly in plastic wrap and then in foil. This way, they’ll stay delicious for up to 3 months. Just remember to label with the date so you can keep track!
What should I do if my cake doesn’t rise properly?
No worries! If your cake doesn’t rise, the most likely culprit is old baking powder. I recommend checking the expiration date. Another common issue is overmixing the batter, which can result in a denser cake. So, when folding in the dry ingredients, be gentle!
Is this recipe suitable for people with allergies or dietary restrictions?
Yes! The Melt-in-Your-Mouth Cake can easily be adapted for dietary needs. For a gluten-free option, substitute all-purpose flour with a gluten-free blend. If you’re observing a dairy-free diet, using coconut oil instead of butter and your choice of plant-based milk will work beautifully. Plus, flax eggs can replace regular eggs for a vegan twist!
How do I know when my cake is done baking?
Great question! Start checking your cake for doneness around 35 minutes. Insert a toothpick into the center; it should come out clean or with just a few crumbs attached. Remember, every oven is different, so keeping an eye on your cake will help you achieve the perfect bake!

Melt-in-Your-Mouth Cake: Budget-Friendly Bliss for All
Ingredients
Equipment
Method
- Preheat your oven to 180°C (350°F) and grease a 9-inch round baking pan.
- In a large bowl, combine 2 cups of all-purpose flour, 2 teaspoons of baking powder, and a pinch of salt.
- In another bowl, beat 3 eggs and 1 cup of sugar until light and fluffy.
- Gradually add ½ cup of melted butter, 1 cup of water, and 1 cup of milk to the egg mixture.
- Gently fold the dry ingredients into the wet mixture until no dry flour is visible.
- Pour the batter into the baking pan and bake for approximately 40 minutes.
- While cooling, prepare the filling by mixing 1 cup of milk with ½ cup of sugar, then add in flour and eggs.
- Spread the creamy filling between cooled cake layers and dust with icing sugar.
- Slice and serve at room temperature, optionally with fresh berries or whipped cream.