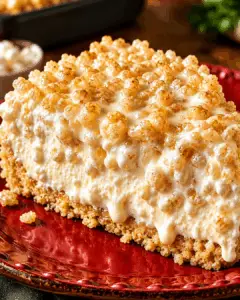
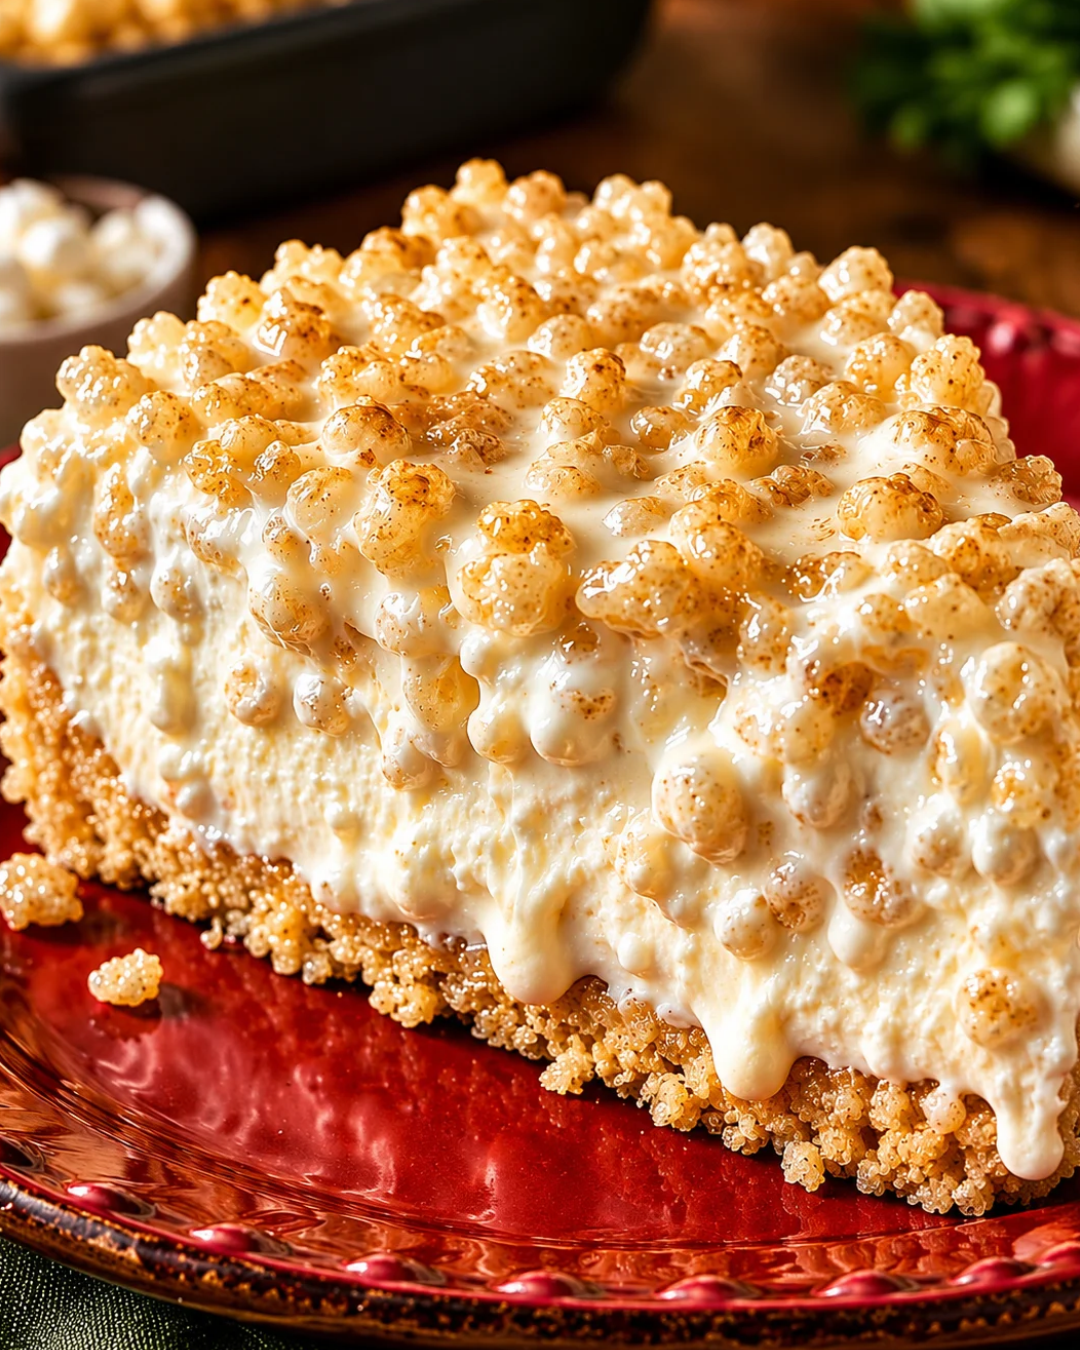
Introduction to No-Bake Rice Krispies Treat Cheesecake
There’s something magical about desserts that remind us of childhood, isn’t there? The No-Bake Rice Krispies Treat Cheesecake is one of those delightful creations that brings back memories of carefree days spent munching on sweet treats. This recipe is perfect for anyone looking for a quick solution to satisfy a sweet tooth without turning on the oven. With its crunchy Rice Krispies crust and creamy filling, it’s a dish that will impress your loved ones while keeping your kitchen cool. Trust me, this cheesecake is a crowd-pleaser that’s as easy to make as it is delicious!
Why You’ll Love This No-Bake Rice Krispies Treat Cheesecake
This No-Bake Rice Krispies Treat Cheesecake is a game-changer for dessert lovers. It’s incredibly easy to whip up, making it perfect for busy weeknights or last-minute gatherings. The combination of a crunchy crust and a creamy filling creates a delightful contrast that will have everyone coming back for seconds. Plus, there’s no baking involved, so you can enjoy a delicious treat without the heat of the oven!
Ingredients for No-Bake Rice Krispies Treat Cheesecake
Gathering the right ingredients is the first step to creating this delightful No-Bake Rice Krispies Treat Cheesecake. Here’s what you’ll need:
- Rice Krispies cereal: The star of the crust, providing that signature crunch.
- Mini marshmallows: These sweet little puffs add flavor and help bind the crust together.
- Unsalted butter: This adds richness to the crust and helps it hold its shape.
- Vanilla extract: A splash of this enhances the overall flavor, making it more aromatic.
- Pinch of salt: Just a touch to balance the sweetness and elevate the flavors.
- Cream cheese: The creamy base of the cheesecake filling, giving it that luscious texture.
- Powdered sugar: This sweetens the filling and helps achieve a smooth consistency.
- Lemon juice: A hint of acidity that brightens the flavors and cuts through the richness.
- Heavy whipping cream: Whipped to perfection, it adds lightness and fluffiness to the filling.
- Additional mini marshmallows: For topping, these add a fun, chewy texture.
- Extra Rice Krispies cereal: Also for topping, providing that delightful crunch.
- Melted butter: To help the topping stick together and add flavor.
- Melted chocolate (optional): A drizzle of chocolate can elevate the dessert to a whole new level.
For exact measurements, check the bottom of the article where you can find everything listed for easy printing. Happy cooking!
How to Make No-Bake Rice Krispies Treat Cheesecake
Creating this No-Bake Rice Krispies Treat Cheesecake is a breeze. Follow these simple steps, and you’ll have a delicious dessert ready to impress. Let’s dive in!
Prepare the Crust
Start by lightly greasing a 9-inch springform pan or lining the bottom with parchment paper. This will make it easier to remove the cheesecake later.
In a large saucepan, melt the unsalted butter over low heat. Once melted, add the mini marshmallows. Stir continuously until they’re completely melted and smooth. The aroma will take you back to childhood!
Remove the saucepan from heat and stir in the vanilla extract and a pinch of salt. This little touch balances the sweetness beautifully.
Now, fold in the Rice Krispies cereal until every piece is coated. Press this mixture firmly into the bottom of your prepared pan. Use a lightly buttered spatula to help prevent sticking. Let the crust cool completely while you prepare the filling.
Make the Cheesecake Filling
In a large mixing bowl, beat the softened cream cheese until it’s smooth and creamy. This is where the magic begins!
Add the powdered sugar, vanilla extract, and lemon juice. Beat until everything is well combined. The lemon juice adds a refreshing zing that cuts through the richness.
In a separate chilled bowl, whip the heavy cream until stiff peaks form. This step is crucial for a light and fluffy filling.
Gently fold the whipped cream into the cream cheese mixture. Take your time here; you want to keep that airy texture intact. The filling should be smooth and fluffy, ready to spread over the crust.
Assemble the Cheesecake
Now comes the fun part! Spoon the cheesecake filling over the cooled Rice Krispies crust. Use a spatula to spread it evenly, making sure every corner is filled.
Cover the cheesecake with plastic wrap and refrigerate for at least 4–6 hours, or preferably overnight. This chilling time allows the flavors to meld and the cheesecake to set perfectly.
Add the Topping
Once your cheesecake is set, it’s time to add the topping. Melt the butter in a saucepan over low heat. Stir in the additional mini marshmallows until they’re melted.
Quickly fold in the extra Rice Krispies cereal. Let this mixture cool slightly before gently placing small clusters over the chilled cheesecake. This adds a delightful crunch!
If you’re feeling fancy, drizzle melted chocolate over the top for an extra touch of indulgence. For easier slicing, refrigerate for another 15–20 minutes after adding the topping.
Tips for Success
- For a smoother filling, ensure your cream cheese is at room temperature before mixing.
- Use a sharp knife to slice the cheesecake for clean edges.
- Refrigerate overnight for the best flavor and texture.
- Experiment with toppings like crushed nuts or fruit for added flavor.
- Keep the cheesecake covered in the fridge to maintain freshness.
Equipment Needed
- 9-inch springform pan: Ideal for easy removal; a regular pie dish works too.
- Large saucepan: For melting butter and marshmallows; a microwave-safe bowl can be used.
- Mixing bowls: One for the filling and another for whipping cream.
- Spatula: Essential for spreading and folding; a wooden spoon can substitute.
- Electric mixer: For beating cream cheese; a whisk works if you’re up for a workout!
Variations
- Chocolate Lovers: Add cocoa powder to the cheesecake filling for a rich chocolate flavor.
- Nutty Delight: Incorporate crushed nuts like almonds or pecans into the crust for added texture.
- Fruit Twist: Top the cheesecake with fresh berries or sliced bananas for a fruity finish.
- Gluten-Free Option: Substitute Rice Krispies with gluten-free cereal to accommodate dietary needs.
- Vegan Version: Use dairy-free cream cheese and coconut whipped cream for a plant-based treat.
Serving Suggestions
- Pair with a scoop of vanilla ice cream for a delightful contrast in temperature.
- Serve alongside fresh fruit like strawberries or raspberries for a pop of color.
- Drizzle with chocolate sauce or caramel for an extra indulgent touch.
- Garnish with mint leaves for a refreshing finish.
- Present on a decorative platter to impress your guests!
FAQs about No-Bake Rice Krispies Treat Cheesecake
Can I make this cheesecake ahead of time?
Absolutely! This No-Bake Rice Krispies Treat Cheesecake is perfect for making ahead. In fact, it tastes even better after chilling overnight, allowing the flavors to meld beautifully.
How do I store leftovers?
Store any leftovers in an airtight container in the refrigerator. It should stay fresh for up to 3 days, but trust me, it’s so delicious, you might not have any left!
Can I use different cereals for the crust?
Yes! While Rice Krispies give that classic crunch, feel free to experiment with other cereals like Cornflakes or even granola for a unique twist on the crust.
Is it possible to make this cheesecake dairy-free?
Definitely! You can substitute dairy ingredients with plant-based alternatives. Use dairy-free cream cheese and coconut whipped cream for a delicious vegan version.
What can I use instead of mini marshmallows?
If you don’t have mini marshmallows, you can use marshmallow fluff as a substitute. Just adjust the amount to achieve the desired sweetness and texture in your crust.
Final Thoughts
Creating this No-Bake Rice Krispies Treat Cheesecake is more than just whipping up a dessert; it’s about crafting memories. Each bite transports you back to simpler times, where sweetness and joy were the main ingredients in life. The combination of crunchy and creamy textures makes it a delightful treat for any occasion. Whether you’re celebrating a special moment or just treating yourself after a long day, this cheesecake brings smiles all around. So, gather your loved ones, slice into this delicious creation, and enjoy the happiness it brings. Trust me, it’s a dessert worth sharing!
PrintNo-Bake Rice Krispies Treat Cheesecake: A Delightful Recipe!
- Total Time: 4-6 hours (plus chilling time)
- Yield: 8-10 servings
- Diet: Vegetarian
Description
A delightful no-bake cheesecake made with a Rice Krispies crust and topped with mini marshmallows and Rice Krispies.
Ingredients
- 4 cups Rice Krispies cereal
- 3 cups mini marshmallows
- 3 tablespoons unsalted butter
- 1/2 teaspoon vanilla extract
- Pinch of salt
- 16 oz cream cheese, softened
- 1 cup powdered sugar
- 1 teaspoon vanilla extract
- 1 tablespoon lemon juice
- 1 1/2 cups heavy whipping cream, cold
- 1 cup mini marshmallows (for topping)
- 1/2 cup Rice Krispies cereal (for topping)
- 2 tablespoons melted butter (for topping)
- 2 tablespoons melted chocolate (optional)
Instructions
- Prepare the crust
- Lightly grease a 9-inch springform pan or line the bottom with parchment paper.
- Melt the butter in a large saucepan over low heat.
- Add the mini marshmallows and stir until completely melted and smooth.
- Remove from the heat and stir in the vanilla extract and salt.
- Fold in the Rice Krispies cereal until evenly coated.
- Press the mixture firmly into the bottom of the prepared pan. Use a lightly buttered spatula to prevent sticking.
- Let the crust cool completely while you prepare the filling.
- Make the cheesecake filling
- In a large bowl, beat the softened cream cheese until smooth and creamy.
- Add the powdered sugar, vanilla extract, and lemon juice. Beat until well combined.
- In a separate chilled bowl, whip the heavy cream until stiff peaks form.
- Gently fold the whipped cream into the cream cheese mixture until smooth and fluffy.
- Assemble the cheesecake
- Spoon the cheesecake filling over the cooled Rice Krispies crust.
- Spread the top evenly with a spatula.
- Cover and refrigerate for at least 4–6 hours, or preferably overnight, until firm.
- Add the topping
- Melt the butter in a saucepan over low heat.
- Stir in the mini marshmallows until melted.
- Quickly fold in the Rice Krispies cereal.
- Let the mixture cool slightly, then gently place small clusters over the chilled cheesecake.
- Drizzle with melted chocolate if desired.
- For easier slicing, refrigerate for another 15–20 minutes after adding the topping.
Notes
- For best results, refrigerate overnight.
- Use a sharp knife to slice for clean edges.
- Optional toppings can include chocolate drizzle or additional marshmallows.
- Prep Time: 30 minutes
- Cook Time: 0 minutes
- Category: Dessert
- Method: No-Bake
- Cuisine: American
Nutrition
- Serving Size: 1 slice
- Calories: 350
- Sugar: 25g
- Sodium: 150mg
- Fat: 20g
- Saturated Fat: 10g
- Unsaturated Fat: 5g
- Trans Fat: 0g
- Carbohydrates: 35g
- Fiber: 1g
- Protein: 3g
- Cholesterol: 50mg